Holly'sWorld
photography, artwork, stories, thoughts, words by hcmorris77
How To…
First I need to say I’m sorry for posting late today! I kinda got to sleep in this morning. Kind of!! My cat started meowing at 3am, I finally got up at 330, fed him and went back to bed til 530! I didn’t sleep well!
So, anyway, on to today’s post…
Today, I’m going to show you how to adjust view, lighting and warp text.
Oct 12, 2019
How to adjust view

To adjust the view of you image on the screen, click on VIEW then click on FIT ON SCREEN in the drop down box. I usually try to keep it like this whenever I’m working on an image. You can zoom it in more if you’re working on specific details…I will go over that at a later date.
That’s all you need to do to get the image to a workable size.
Adjust lighting

To adjust lighting, click on ENHANCE, then click on ADJUST LIGHTING in the drop down box.

Another box will appear with two slide bars. Here you can slide the adjustments for brightness and contrast.
You can also adjust the SHADOWS and HIGHLIGHTS, but I rarely ever use this. Play around, see what you like. In the drop down box, at the top you will see AUTO SMART FIX…this will also fix the lighting and what not. I used to use it, but have found I like to adjust the brightness and contrast myself. (I have more control this way.)
How to warp text…
Click on the “T” on the left side of the screen to open a text box on your image. Type whatever it is you want to write. Adjust it as you need to. (To see how to do this, click here.)

After this, you will see two “T”s at the top of your screen beside the STYLE box. The first “T” lets you warp the text. Click on it.

A box will open up. Click on the box beside STYLE, a bunch of options will open up. Click on the style you want. This is where you can have some fun! (I am using ARCH.)


You can adjust the bend, horizontal and vertical distortion and whether or not you want the warp to be horizontal or vertical. Play around a little and have some fun. You can adjust and play as long as you want…nothing is permanent until you save it.
When done, and you have everything the way you want, flatten the image (click on LAYER and then click on FLATTEN IMAGE). Then you can save.
I should mention that you can save the image as a photoshop image if you are not finished creating. (Don’t flatten the image before you save. When doing this you will be able to open the image and continue working in the layers you have. I do have to warn you the image will be huge until you save it as a jpeg image.)
I think that’s about all for now, at least until next time. Hope you enjoyed and learned something!
So, until next time, have a great day, night or evening…where ever you may be in life’s journey!
Thanks for stopping by!!
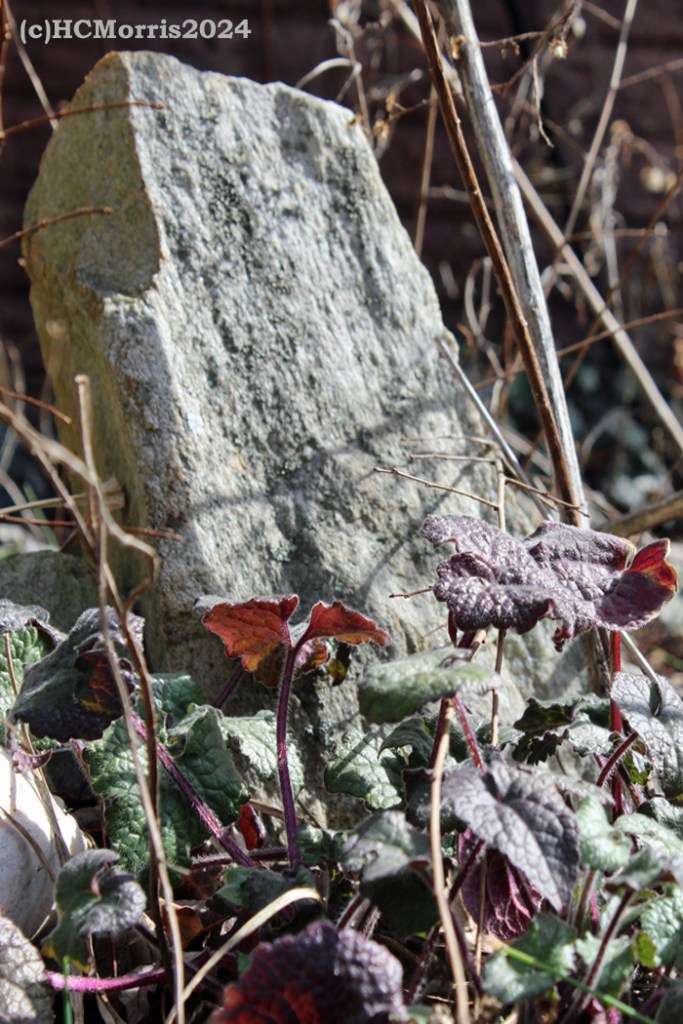
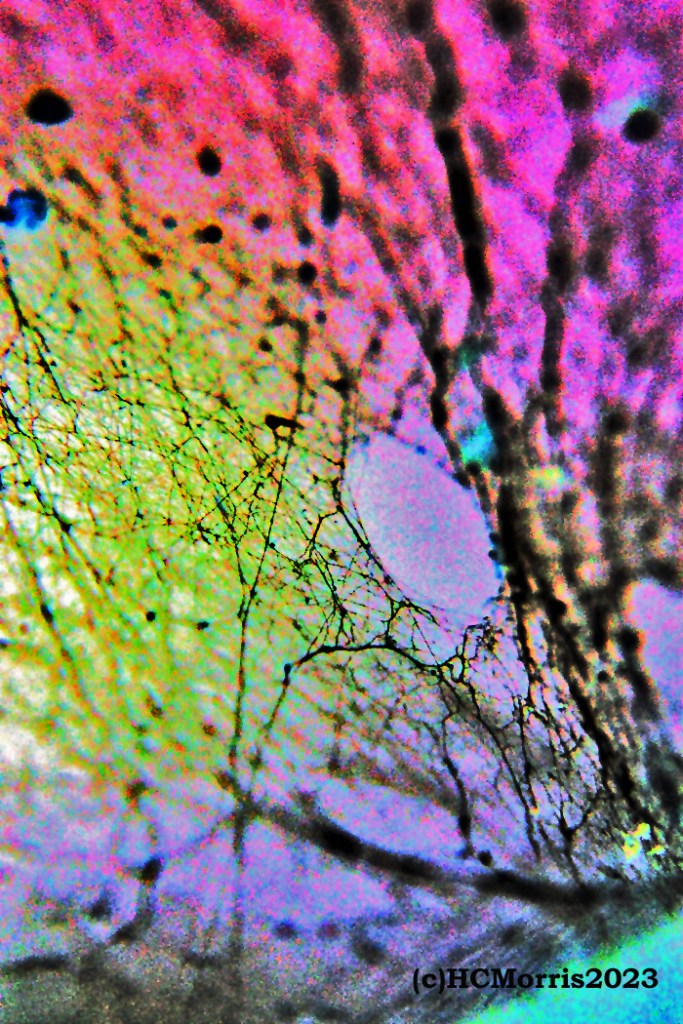
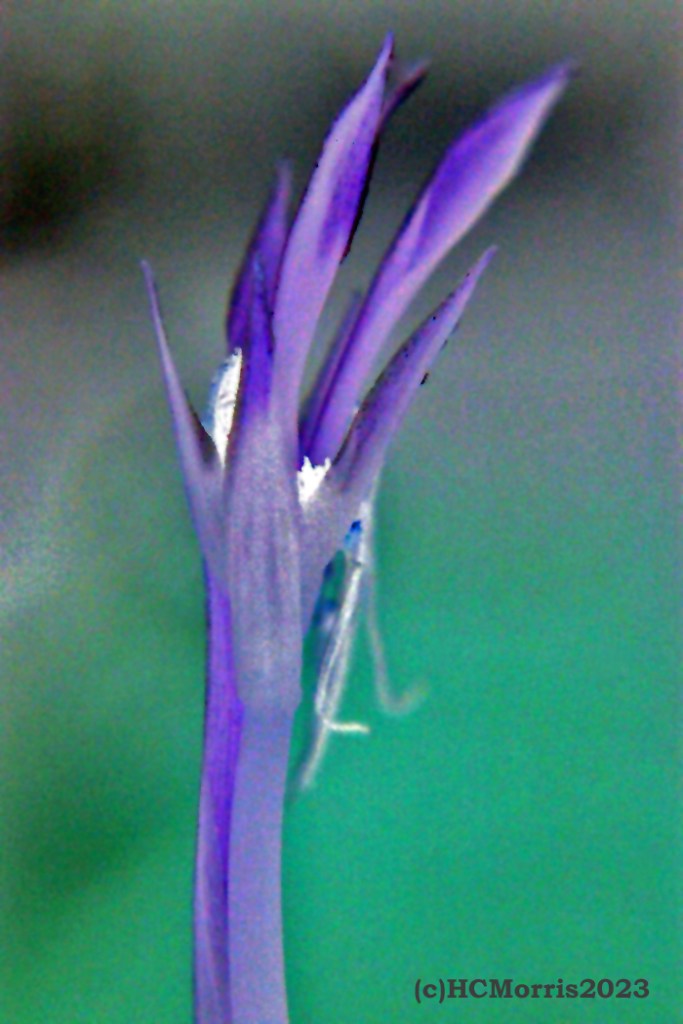
click on either image to see what I have available at Picfair and Pinterest
I’m going to take a minute here just to let you know, that by the end of the weekend I will be adding a donate button to my posts. I’ve also looked into becoming an Amazon affiliate, so…there’s that as well!
Have a great day…again!










good one
Pingback: Before and After – Holly'sWorld